



Built To Protect What Matters Most
Every product we sell is carefully selected for its strength, reliability, and proven performance. From robust construction to dependable locking mechanisms, our range is designed to keep your valuables, documents, and important possessions secure. When you choose SafeFort, you’re choosing protection you can trust and peace of mind that lasts.
Every safe available from SafeFort is Independently Certified and carefully selected to meet high standards of resistance, strength, reliability, and practical security.
Shop Our Best Sellers
Our Best Sellers collection brings together the most trusted and frequently chosen SafeFort security solutions. These products are selected time and time again by UK homeowners and businesses looking for reliable, professional-grade protection for their most valuable possessions.


Choose your option


Choose your option


Securikey Biometric Jewellery Drawer | Fingerprint | SafeFort
Choose your option


Securikey Mini Vault Gold FR S2 Fire Resistant Safe | SafeFort
Choose your option


Phoenix Mercury Home HS2011 – Grade 2 High Security Home Safe
Choose your option


Phoenix Venus HS0670 – Grade 0 High Security Safe
Choose your option


Phoenix Fortress Security Safe – SS1450 Series
Choose your option
Shop By Brand
We work with trusted security solutions manufacturers known for quality, compliance, and reliability.


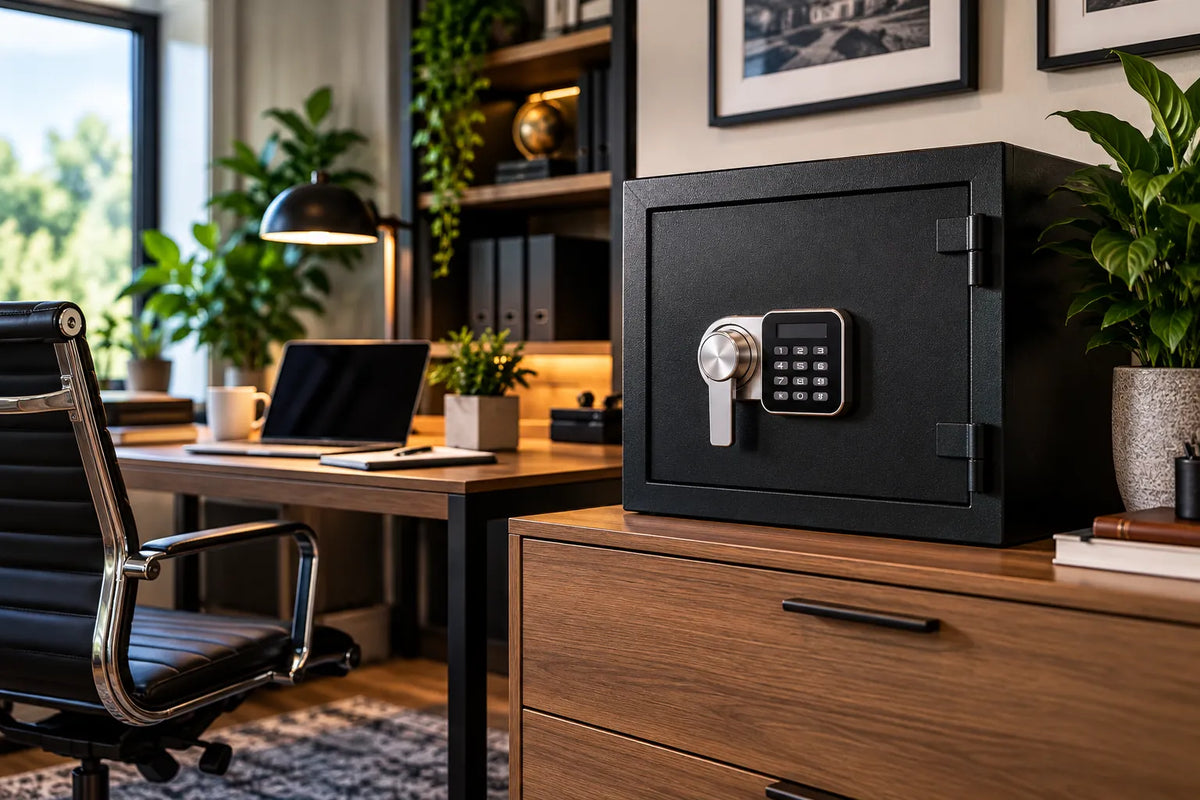
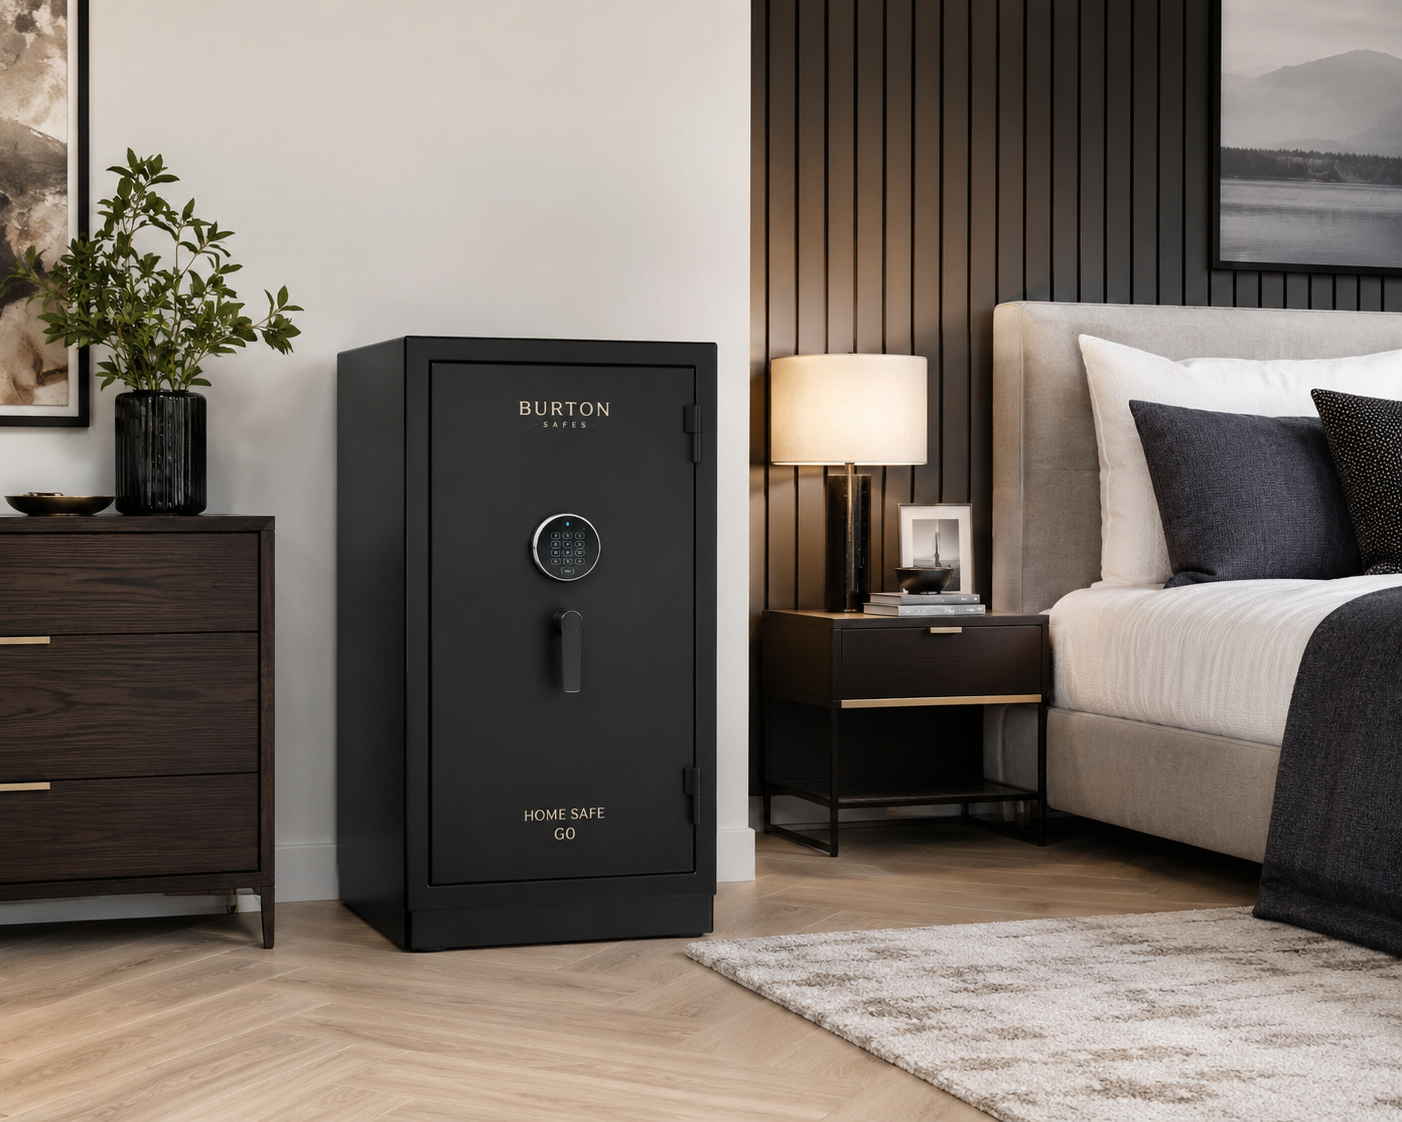
Find security solutions that fit your exact needs and style, so your items are safe no matter what.


Every safe available from SafeFort is Independently Certified and carefully selected to meet high standards of strength, reliability, and practical security.


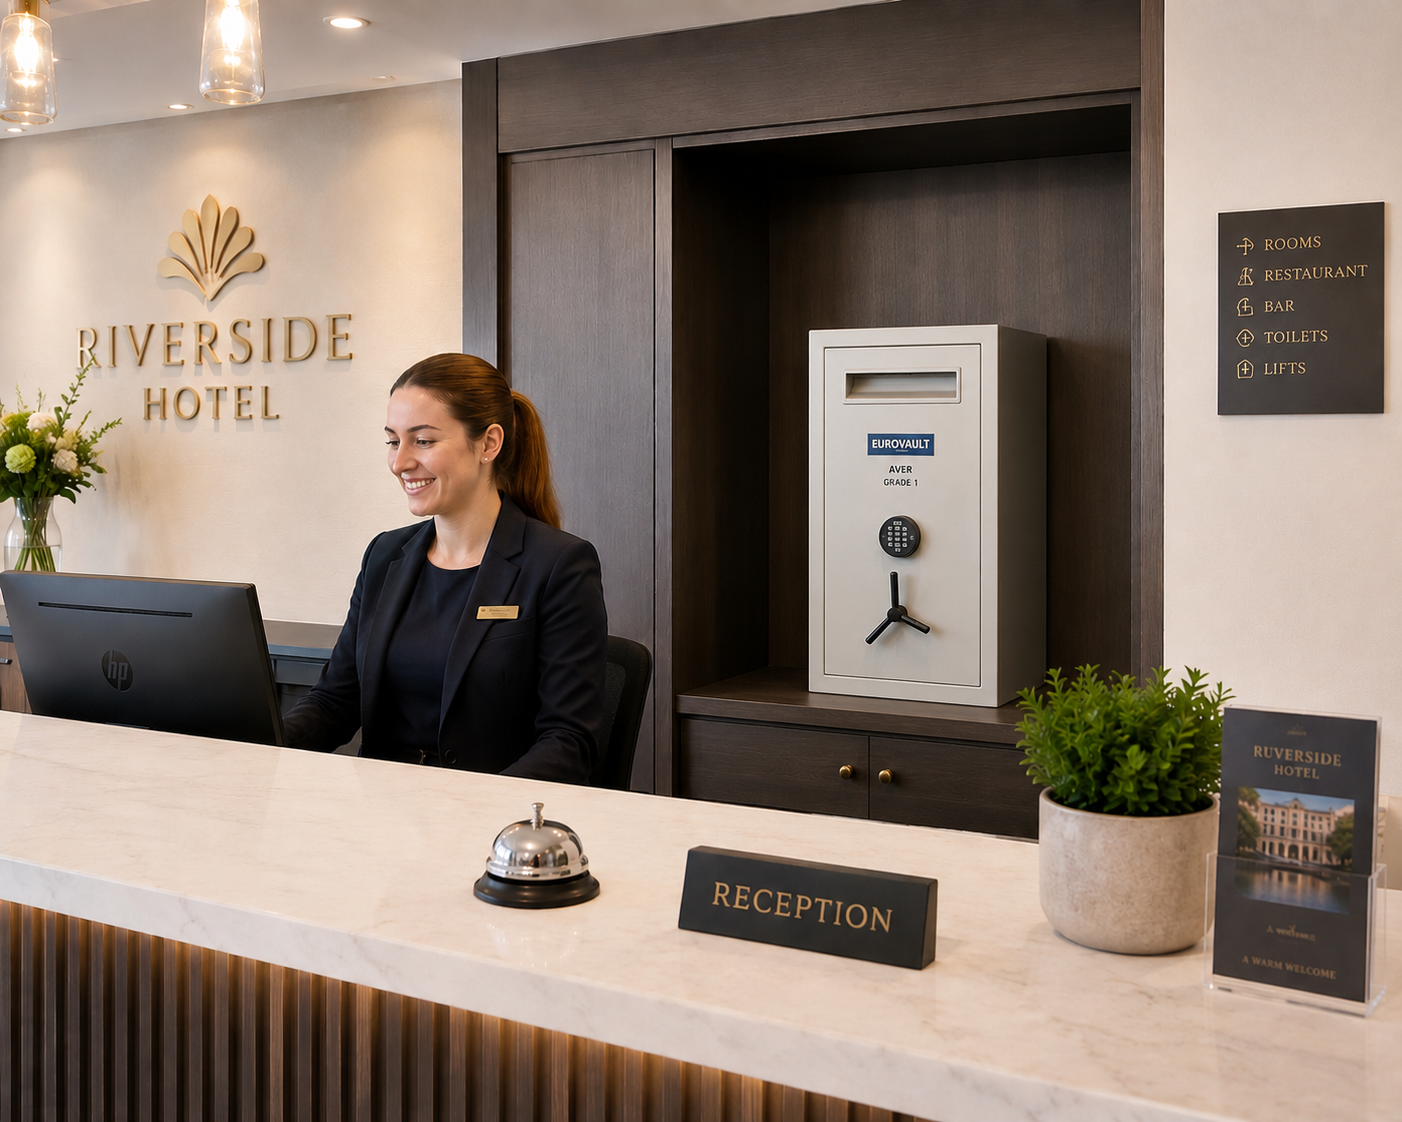
This range focuses on combining practical security with intelligent functionality, helping you manage, and protect your cash in any retail, hotel or commercial environment.


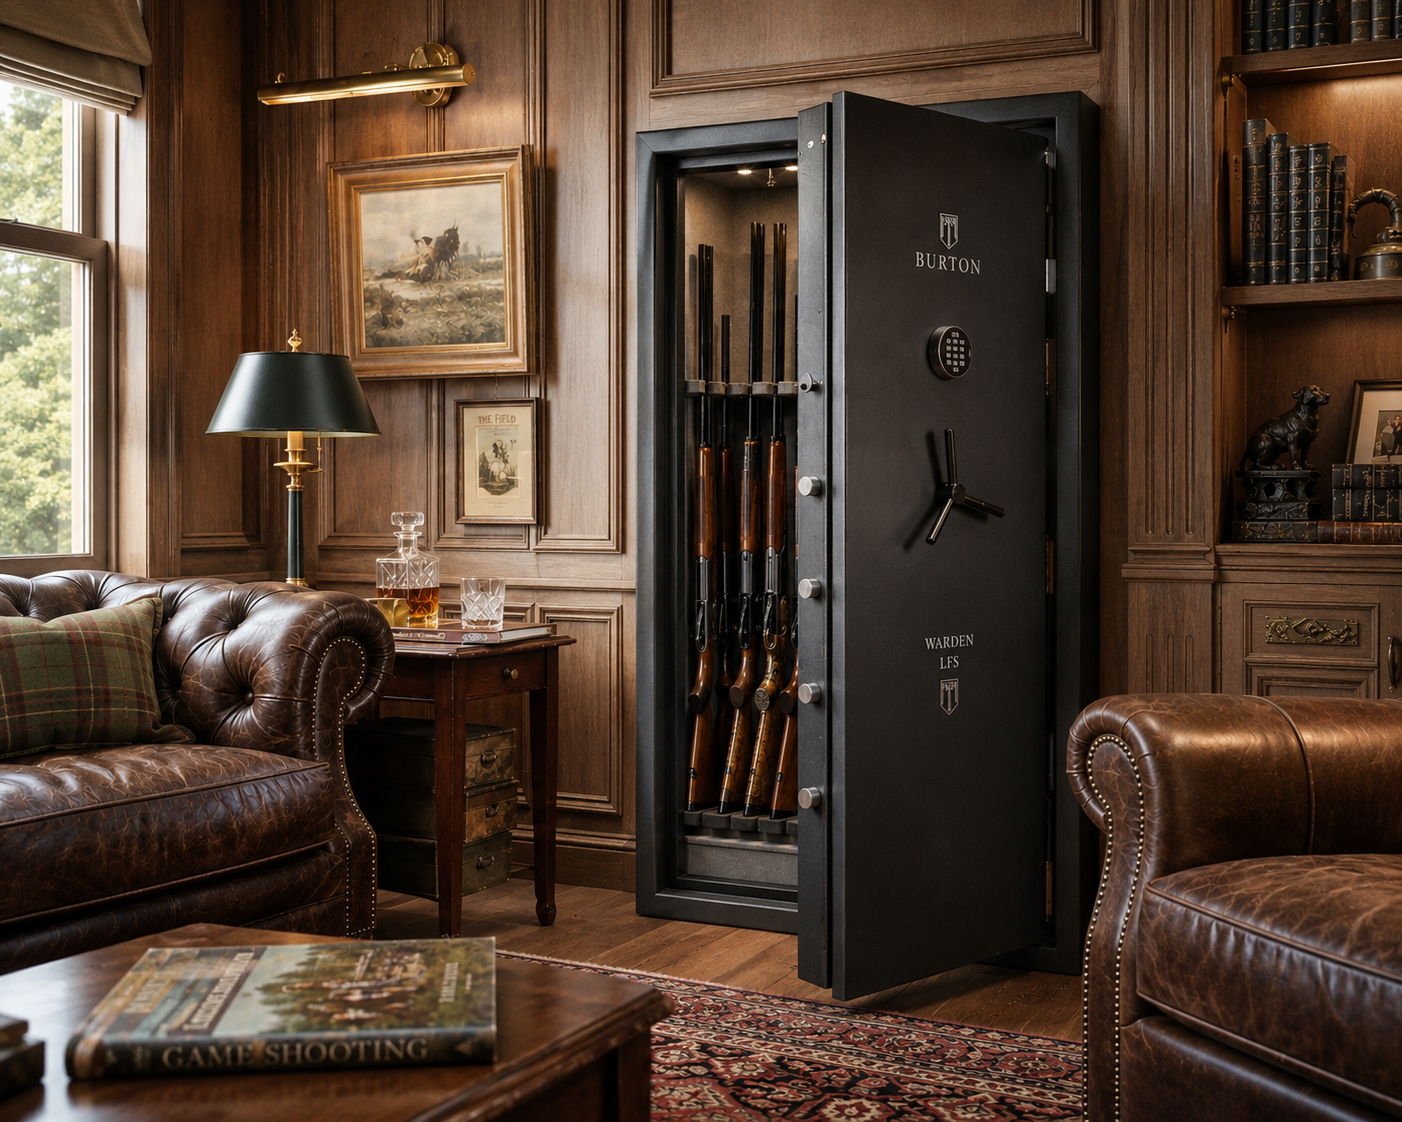
This collection brings together secure firearms storage solutions that focus on practical protection, certified standards, and peace of mind.

Choose your option


Choose your option
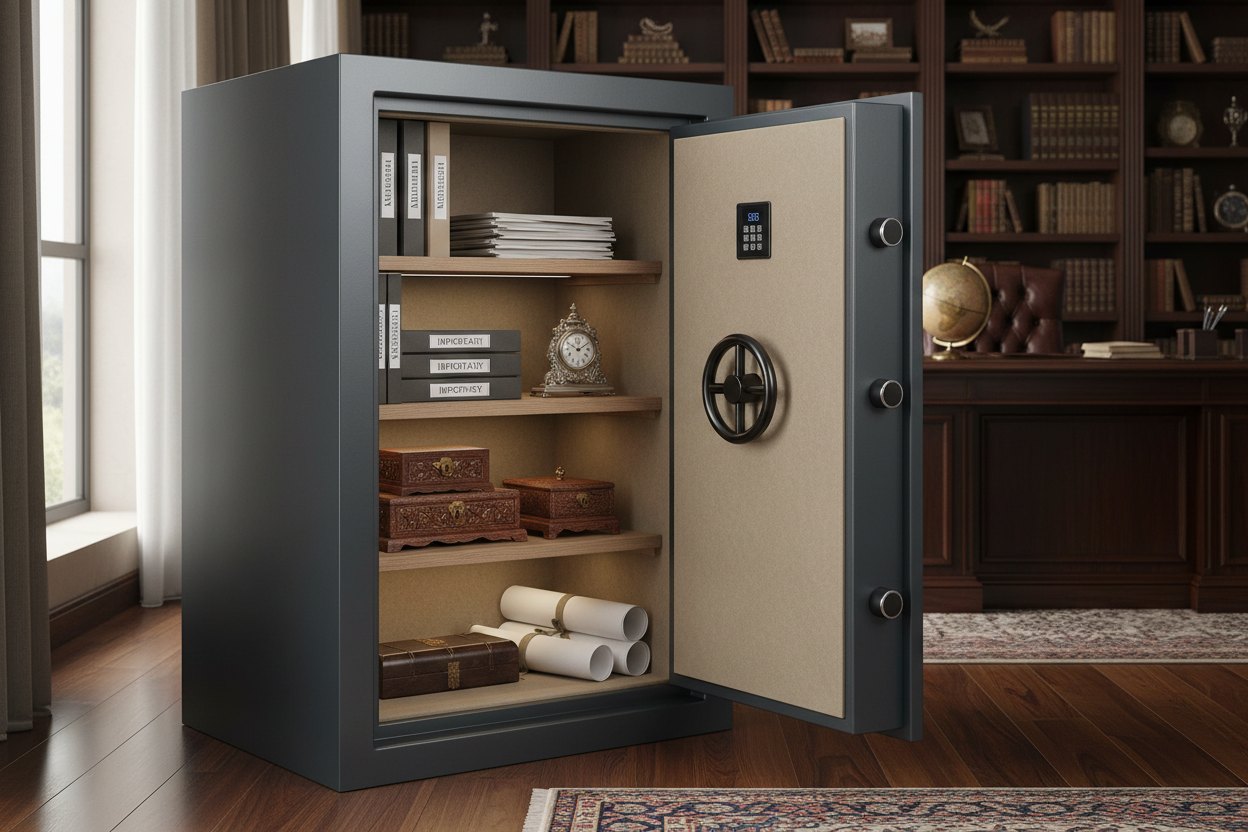


Choose your option
Our Favorite Products
Shop By Price
Find security options to match your budget without compromising on quality or performance.
Choose your option


Securikey System 200 Key Cabinet | 200 Keys | SafeFort
Choose your option


Securikey System 100 Key Cabinet | 100 Keys | SafeFort
Choose your option
Securikey Biometric Jewellery Drawer | Fingerprint | SafeFort
Choose your option


Master Lock Digital Fire & Water Safes | 1 & 2 Hour | SafeFort
Choose your option


Securikey Euro Grade 2 Safe | £17,500 Cash Rated | SafeFort
Choose your option


Securikey 180D & 200D Ammunition Cabinets | SafeFort
Choose your option


Securikey Euro Vault Electronic & Drawer Safes | SafeFort
Choose your option
Choose your option


Securikey High Security Key Cabinet | 100–300 Keys | SafeFort
Choose your option


Securikey System 300 Key Cabinet | 300 Keys | SafeFort
Choose your option
Securikey System 200 Key Cabinet | 200 Keys | SafeFort
Choose your option
Securikey System 100 Key Cabinet | 100 Keys | SafeFort
Choose your option


Securikey Protector Underfloor Safe | £6,000 Rated | SafeFort
Choose your option


Securikey SafeGuard Plus Underfloor Safe | £6000 rated | SafeFort
Choose your option


Securikey SafeGuard Underfloor Safe | Key Lock | £4000 rated | SafeFort
Choose your option


Securikey Secure Stor S1 Security Cabinets | SafeFort
Choose your option


Securikey Maximum Security Grade 1 Rated | Key Cabinet 140 Keys | SafeFort
Choose your option
Securikey High Security Key Cabinet | 100–300 Keys | SafeFort
Choose your option


Securikey Fire Stor S1 Fire & Security Cabinet | SafeFort
Choose your option
Securikey Protector Underfloor Safe | £6,000 Rated | SafeFort
Choose your option
Securikey Euro Grade 2 Safe | £17,500 Cash Rated | SafeFort
Choose your option


Securikey Euro Grade 1 Safe | £10,000 Cash Rated | SafeFort
Choose your option


Securikey Euro Grade 0 Insurance Approved Safe | SafeFort
Choose your option


Burton iKMS Intelligent Key Management System
Choose your option
Securikey Fire Stor S1 Fire & Security Cabinet | SafeFort
Choose your option


Securikey Euro Grade 5 Safe | £100,000 Cash Rated | SafeFort
Choose your option


Securikey Euro Grade 4 Safe | £60,000 Cash Rated | SafeFort
Choose your option


Securikey Euro Grade 3 Safe | £35,000 Cash Rated | SafeFort
Choose your option
Securikey Euro Grade 2 Safe | £17,500 Cash Rated | SafeFort
Choose your option
Securikey Euro Grade 1 Safe | £10,000 Cash Rated | SafeFort
Choose your option


Phoenix Battery Commander Pro Locker BS1940 – Lithium-Ion Battery Storage & Charging Cabinet
Choose your option
Check Out Our Blogs
Adams Rite Mortice Hooklatch: Commercial Selection & Installation Guide
Introduction: Securing Commercial Sliding Doors Sliding doors in busy retail and commercial buildings face heavy foot traffic alongside serious security risks. Traditional straight deadlatches cannot secure these entrances, especially when paired with narrow aluminium door stiles. An Adams Rite mortice hooklatch solves this challenge with an expanding bolt mechanism. The hook grips the strike plate firmly to stop prying attacks. That clamping action keeps commercial properties secure day and night. Standard latches slip when frames flex under load, but this design locks the door and frame together. Understanding how this hardware works will help you choose the right model. The following breakdown shows how the hookbolt resists forced entry. Understanding the Adams Rite Mortice Hooklatch Mechanism Standard mortice deadbolts slide directly into the door frame. While this works well for timber doors, it leaves a known weakness on metal shopfronts. Intruders often use pry bars to spread the door away from the frame. When the frame bends outward, a straight bolt can simply slip out of the strike plate. An Adams Rite mortice hooklatch solves this issue with an upward hooking motion. Instead of sliding forward, the bolt rotates out and locks tightly over an internal strike pin. This action creates a strong mechanical clamp. Security fitters rely on this design to stop doors and frames from parting during heavy lever attacks. Even if someone bends the outer jamb, the laminated hook stays put. The real strength lies inside the bolt itself. Anatomy of the Laminated Steel Hookbolt The hookbolt features a heavy-duty, five-ply laminated steel core. Stacking multiple steel plates creates natural dampening against hammer blows and cutting tools. Inside the core, a free-floating hardened steel pin defends against hacksaw blades. When attacked, that loose pin spins freely. The rotation stops saw teeth from biting into the bolt. Solid cast bolts often snap under pressure, but laminated steel plates flex slightly without losing their grip. This flexibility spreads the load evenly across the lock body. It protects the entrance during violent entry attempts. Let's see how the latch handles different door profiles. Key Applications: Sliding Aluminium vs. Narrow Stile Doors Aluminium commercial shopfronts present unique security challenges. These doors usually feature ultra-narrow stiles, leaving little room for bulky domestic locks. Standard deadbolts require deep backsets that simply will not fit these slim aluminium extrusions. Narrow stile hooklatches fit neatly into backsets as compact as 25mm without compromising physical strength. Sliding aluminium doors benefit most from this specific design. Traditional sliding locks often fail because lateral movement allows intruders to lift the door off its track. The hooklatch firmly anchors the door leaf to the jamb. Many retail managers rely on this mechanism because it keeps sliding glass doors pinned tight against wind pressure and brute-force parting attacks. Correct sizing is essential before you begin fitting this hardware. Crucial Measurements for an Adams Rite Mortice Hooklatch Getting your measurements right prevents costly fitting errors and delays. The backset is the single most vital dimension on an Adams Rite mortice hooklatch. Always measure before you place an order. To measure the backset, check the distance from the outer door edge to the centre of the key cylinder. On aluminium doors, common sizes are 31/32 inch (24.6 mm), 1-1/8 inches (28.6 mm), and 1-1/2 inches (38.1 mm). A 31/32-inch backset suits very slim door stiles. The 1-1/8-inch option gives slightly more hand clearance near the frame. If you miscalculate by even a few millimetres, the lock case will foul against the internal glazing channel. Always check the internal cavity depth before you buy. Narrow aluminium stiles often contain internal ribs or glass stops. The lock case needs clean clearance behind the faceplate to sit flush. This space prevents extra stress on the glass panel. Choosing the right lock faceplate and strike plate is equally critical. Faceplate and Strike Compatibility (MS1850S vs. Deadlatch Series) Choosing between a hookbolt and a deadlatch depends on your door movement and security needs. The MS1850S hookbolt series features a laminated steel hook that swings upward into the frame. For swing doors requiring dual action, models like the ADAMS RITE MS1890 provide versatile lock and latch solutions. It is built specifically for sliding panels and swing doors that need anti-spread protection. This design pairs with a reinforced strike box. Once thrown, the hook clasps the frame internally to stop crowbar attacks and jamb-spreading. According to Master Locksmiths Association guidelines, proper strike engagement is vital to resist forced entry on aluminium commercial doors. Standard commercial deadlatches use a spring-loaded latchbolt instead. These latches work with flat electric release strikes for entry control, but they do not grip the frame like a hookbolt. Finally, check the profile of your faceplate before ordering. Stile edges can be flat, radiused, or bevelled. Pairing the correct faceplate profile with your door edge ensures smooth closure and keeps dirt out of the mechanism. Even the best hardware will fail without careful installation and regular care. Common Installation Pitfalls and Alignment Troubleshooting Fitting a mortice hooklatch requires close attention to clearances. A stiff bolt is the most common problem installers encounter. This resistance usually happens when the laminated hook catches inside the strike cutout. Sliding aluminium doors naturally settle and sag over time. Even a two-millimetre drop can cause the hook to strike the frame edge. Test the key operation with the door fully open to isolate the issue. If the mechanism operates smoothly while open, adjust the door bottom rollers to restore alignment. Commercial door technicians note that improper gap spacing causes most field latch failures. The clearance between the lock faceplate and the frame strike should remain between three and five millimetres. If the gap is wider, the hook cannot securely interlock into the opposing jamb. Add precision shims behind the strike plate rather than cutting down the hook to force a fit. External guards protect the lock but need careful fitting. Armoured security escutcheons must align squarely over the keyway without pinching the cylinder housing. Tighten cylinder set screws evenly on the lock faceplate to prevent the plug from canting sideways. Once tightened, confirm that the hardened bevelled guard ring spins freely to deflect pipe wrench attacks. Never apply thick grease inside the narrow aluminium mortice pocket, as dirt will collect quickly. Use a light dry lubricant to keep internal hook plates gliding smoothly over the pivots. To maximize your entrance security, consider pairing your hooklatch with proven security accessories. Recommended Locking Hardware and Security Upgrades Selecting the right hardware setup starts with your door frame specifications. For slim aluminium doors, an Adams Rite mortice hooklatch provides strong resistance against jemmying and spreading. Always pair your hooklatch with an armoured strike plate for maximum reinforcement. This combination prevents intruders from prying the stile away from the jamb during an attack. The locking cylinder itself serves as your primary line of defence. Standard commercial cylinders often leave glass entry doors vulnerable to drilling, bumping, and picking, which is why upgrading to secure door locking systems across the premises is crucial. We advise installing high-security mortice cylinders rated to BS EN 1303 standards. Sourcing your fittings from top rated Security Solutions brands UK ensures reliable quality, while the Master Locksmiths Association often highlights how hardened pins and patented key profiles deter unauthorized access. Protective trim accessories can significantly strengthen your overall entryway security. Hardened steel security escutcheons stop burglars from twisting or wrenching the exposed cylinder body. You can also add full-length latch guards along the door edge to shield the hookbolt gap. These guards deny access to crowbars and help commercial hardware withstand aggressive physical force. Finally, inspect your backset measurements before you buy replacement parts. Standard depths typically range between 25mm and 40mm to suit common metal profiles. Choosing the correct size ensures smooth operation and stops premature mechanical failure. Conclusion: Optimising Commercial Aluminium Entrance Security Securing commercial aluminium entrances requires the right hardware and precise fitting. An Adams Rite mortice hooklatch provides dependable protection against prying when installed with proper alignment. Always check your backset measurements and pair your latch with a certified profile cylinder. These simple steps protect your premises while keeping daily access smooth for staff and visitors. Routine maintenance will also prevent costly lock jams and keep sliding panels moving freely. Investing in certified commercial door locks saves your business from unexpected downtime and forced entry damage. To upgrade your building further, explore the best online store for Security Solutions UK to review commercial door locking systems and heavy-duty exit devices. Reliable door hardware keeps your business safe and gives you lasting peace of mind. Check our technical guides or contact a commercial locksmith for fitting advice. Frequently Asked Questions How does an Adams Rite mortice hooklatch protect against prying attacks? An Adams Rite mortice hooklatch uses an upward hooking motion instead of sliding directly forward like a standard straight deadbolt. When thrown, the bolt rotates out and clamps tightly over an internal strike pin in the frame. This mechanical clamping action stops intruders from using pry bars to spread the door away from the frame, ensuring the door and jamb remain locked together even if the metal bends under pressure. How does the hookbolt resist cutting and physical force? The hookbolt contains a heavy-duty, five-ply laminated steel core with a free-floating hardened steel pin inside. When someone attempts to cut through the bolt with a hacksaw, this loose internal pin spins freely, preventing the saw teeth from biting into the metal. In addition, the laminated steel construction flexes slightly under pressure to dampen hammer blows without snapping. How do I measure the correct backset for an Adams Rite hooklatch? Measure the distance from the outer door edge to the centre of the key cylinder. On aluminium commercial doors, standard backset sizes are typically 31/32 inch (24.6 mm), 1-1/8 inches (28.6 mm), and 1-1/2 inches (38.1 mm). Sizing is crucial because an incorrect measurement can cause the lock case to foul against the internal glazing channel or ribs inside the slim door stile. Why is my hooklatch stiff to operate and how do I fix it? A stiff hookbolt usually occurs when the door sags and the hook catches against the strike cutout. You should first check operation with the door open; if it turns smoothly, adjust the bottom rollers to restore alignment. Ensure the gap between the faceplate and frame strike is between three and five millimetres, and insert precision shims behind the strike plate if the gap is too wide. About This Article Author: SafeFort Editorial Team Last Updated: October 21, 2026 Editorial Disclosure: This article was researched and written by our content team to provide helpful, accurate information about Adams Rite mortice hooklatch. We regularly review and update our content to reflect the latest industry developments and best practices.
ASEC Under Floor Safe Price Guide: Costs, Models, and Installation in 2026
Understanding the True Cost of Floor Safes Concealed beneath floorboards or solid concrete, subterranean vaults provide discreet protection for private wealth. Evaluating the true ASEC under floor safe price requires looking beyond the retail tag. A comprehensive budget combines the engineered steel chamber with professional concrete installation. Many clients neglect the necessary trade labor and materials during early planning. Overlooking structural preparation leads to unwelcome budget revisions later. Excavation, concrete curing, and moisture barriers consistently influence your final balance. Anticipating these variables ensures you select the best floor safe for cash for your property. Current market benchmarks reflect several clear price points across standard production runs. Current ASEC Under Floor Safe Price Across Key Models Subfloor chambers offer dependable physical security within reasonable parameters. Retail acquisitions generally range between £270 and £460 for standalone units. Final invoices reflect your chosen dimensions, overall mass, and door architecture. Price Comparison Across Core ASEC Models Entry-level configurations like the AS6009 trade between £270 and £310. Crafted with a compact steel body, this model features an insurance-rated double-bitted key lock. At roughly 14 kilograms, it installs neatly into standard residential subfloors. Moving up to the AS6011 elevates retail costs toward £350 to £390. This specification provides greater storage capacity, heavier wall thickness, and enhanced pry defence. Commercial models fitted with deposit tubes command between £420 and £460. These professional variants integrate reinforced collar necks and mechanical anti-fish baffles to counter targeted manipulation. Deposit Chutes vs Standard Lids: Cost vs Convenience Deposit fixtures add roughly £70 to £100 over traditional screw-lid enclosures. For demanding commercial enterprises, this premium proves entirely worthwhile. High-turnover operations rely on swift, frequent deposits during busy operating hours. Deposit chutes allow staff to secure cash envelopes directly inside the subterranean vault. Employees never handle the release keys during trade hours. This division of access limits exposure to internal loss while securing daily turnover. Private residences rarely demand dedicated deposit chutes. If you need to replace or upgrade components, knowing how to buy ASEC floor safe door options can help match existing collars. A precision-machined removable lid preserves interior floor lines and lowers initial acquisition expenses. Material choices and structural specifications directly drive these hardware valuations. Security Specifications That Drive the ASEC Under Floor Safe Price When analyzing an ASEC under floor safe price, structural engineering warrants close examination. Certified cash ratings directly dictate manufacturing standards and market rates. Entry-level models frequently carry a standard £3,000 overnight cash rating. Under Association of Insurance Surveyors criteria, this baseline provides £30,000 of coverage for domestic valuables. Fine jewelry, rare timepieces, and precious metals fall within this insured bracket. Door architecture directly affects security and total manufacturing cost. Circular door designs provide distinct structural benefits: Machined from solid carbon steel without vulnerable corner joints. Tight seam tolerances that deny purchase to mechanical levers. Superior defensive strength against direct chisel impacts. The internal locking mechanism forms another crucial defense tier. Reputable units rely on seven-lever brass mechanisms engineered to resist manipulation. Master locksmiths prize these components for their reliability under pressure. Each internal lever multiplies the security combinations required for entry. Manganese anti-drill plates protect the internal lock housing beneath the surface steel. These hardened barriers deflect cutting bits during aggressive penetration attempts. Many builds also deploy spring-loaded relockers that permanently dog the bolts during physical attacks. Superior metallurgy accounts for much of the baseline expense. When comparing the best floor safes UK homeowners consider, heavy-gauge steel construction ensures the unit withstands subterranean conditions for decades. While robust engineering sets the purchase figure, the installation represents a second investment. The Hidden Expenses: Concrete Installation and Delivery Costs The hardware purchase rarely represents the comprehensive expenditure. When assessing an ASEC under floor safe price, installation often equals or exceeds the unit itself. These safes rest completely flush beneath floorboards or within structural floor slabs. Proper positioning demands masonry diamond cutting, deliberate excavation, and multi-layer damp protection. Skilled installation preserves both structural integrity and warranty coverage. Qualified fitters charge between £250 and £500, depending on substrate composition and site accessibility. An installer creates a tailored cavity, then envelops the steel casing with dense structural concrete. Raw building materials generate modest supplementary fees: High-strength concrete mix (£20 to £35). Graded ballast and sharp sand (£15 to £20). High-gauge waterproof membrane (£10 to £15). Waterproofing remains mandatory, as chronic subterranean moisture corrodes bare steel over decades. Budget roughly £40 to £70 for trade sundries when quotes exclude installation materials. Transport logistics present an additional budget consideration. Heavy subterranean vaults exceed the weight thresholds of standard couriers. Suppliers distribute through dedicated pallet networks, typically adding £40 to £80 for transport. Standard transport provides kerbside delivery to the property boundary. Bringing dense steel units inside requires two-person handling, adding £75 to £150. Accounting for these logistical details establishes an accurate financial baseline. With secondary expenses accounted for, one specific production model warrants closer review. Recommended Floor Security Solution: ASEC AS6009 Key Locking Floor Safe The ASEC AS6009 provides discreet, dependable security for residences and private practices. This subterranean model carries an entry-level £1,000 cash rating, or £10,000 for fine jewelry and documents. Resting flush with your floorline, the safe remains imperceptible to unwanted visitors. The unit pairs a solid steel door with a double-bitted mechanical key lock. A fitted neoprene cover shields the aperture from routine floor cleaning and accidental spills. Many proprietors secure operating floats here overnight, while homeowners looking across various home safes value the maintenance-free mechanical locking design. When calculating the total ASEC under floor safe price, preserve funds for structural masonry. A dense concrete encasement anchors the casing directly into your foundations. Bare units remain attractively priced beneath £200, leaving ample capital for qualified installation labor. Confirm specific policy covenants with your underwriter before commissioning work. Most UK insurers recognize this grade for everyday residential exposures. Correctly fitted, this model provides a formidable hidden barrier against forced entry. Clear preparation and disciplined budgeting yield the greatest return on security investments. Maximizing Value from Your Safe Investment Balancing initial investment against certified protection delivers lasting peace of mind. An ASEC under floor safe price reflects solid metallurgical standards, recognized cash ratings, and dependable mechanical integrity. Subfloor installation adds upfront cost, yet concealed protection provides enduring peace of mind. Underground enclosures remove prized assets entirely from sight, shielding them from targeted opportunistic theft. Protecting your investment over decades requires simple preventive measures: Commission a certified installer experienced in subterranean damp protection. Lubricate mechanical tumblers with dry graphite rather than liquid oil. Clean the rubber dust cover periodically to protect the keyway. Reviewing your total project expenses early ensures a seamless installation. A professionally anchored subterranean vault delivers uncompromising security for a generation. Frequently Asked Questions How much does an ASEC under floor safe cost? Standalone ASEC under floor safe units generally range in price between 270 pounds and 460 pounds. Entry-level models such as the AS6009 cost between 270 pounds and 310 pounds, mid-range models like the AS6011 cost between 350 pounds and 390 pounds, and commercial units with deposit tubes command between 420 pounds and 460 pounds. Safe pricing varies based on chosen dimensions, overall mass, and door architecture. Bare units can also be found priced beneath 200 pounds. What does professional installation cost for an ASEC floor safe? Professional installation by a qualified fitter generally costs between 250 pounds and 500 pounds, depending on the substrate composition and accessibility of the site. In addition to labor, raw building materials such as high-strength concrete mix, graded ballast, sharp sand, and waterproof membranes add roughly 40 pounds to 70 pounds for trade sundries when quotes exclude installation materials. Proper positioning requires masonry diamond cutting, excavation, multi-layer damp protection, and concrete encasement. How much should I expect to pay for delivery and handling? Standard pallet delivery to the property boundary typically costs between 40 pounds and 80 pounds due to the weight of subterranean vaults exceeding regular courier thresholds. If you require two-person handling to bring the heavy steel unit inside the property, that service adds an extra 75 pounds to 150 pounds to your total logistics expenses. Planning for these transport and handling costs helps establish an accurate total budget. How much extra does a deposit chute model cost compared to a standard lid? Deposit chutes add approximately 70 pounds to 100 pounds over traditional screw-lid enclosures. While deposit models range from 420 pounds to 460 pounds, standard models without chutes cost between 270 pounds and 390 pounds. This premium accounts for integrated reinforced collar necks and mechanical anti-fish baffles that allow employees to drop cash into the subterranean vault without handling release keys during business hours. About This Article Author: SafeFort Editorial Team Last Updated: October 19, 2026 Editorial Disclosure: This article was researched and written by our content team to provide helpful, accurate information about ASEC under floor safe price. We regularly review and update our content to reflect the latest industry developments and best practices.
How to Buy the Right Mortice Hooklatch Case: 2026 Hardware Guide
Introduction: Why You Should Buy Mortice Hooklatch Case Locks Finding the right lock for a sliding or narrow door can feel tricky. A mortice hooklatch case gives you strong protection against prying. When you plan to buy mortice hooklatch case hardware, check your measurements first. Matching your backset, case depth, and faceplate ensures an easy fit. A solid lock case protects homes and commercial spaces from forced entry. Sliding patio doors, pocket doors, and metal gates carry unique security risks. Intruders often try to pry sliding panels apart or lift them off their tracks. A certified hookbolt case keeps your property safe without extra hassle. These locks work quite differently from the standard latches on everyday hinged doors. Understanding Mortice Hooklatch Cases vs. Standard Mortice Latches Standard mortice latches rely on a spring-loaded tongue or a flat deadbolt. When a swinging door closes, that latch simply clicks into the strike plate. This design works well on regular hinged doors. However, it fails completely on sliding systems. A straight bolt gives you zero protection against sideways pulling force. An intruder can easily pull a sliding door away from its frame. A mortice hooklatch case solves this problem with an upward-curving steel hook. When you turn the key, the hook swings into a reinforced box keep. This action locks the door leaf directly to the frame. The design stops anyone from lifting the door off its track. Sliding doors need this grip because they glide sideways rather than swinging open. Physical security guidelines from the Master Locksmiths Association highlight this benefit. Their data shows that interlocking bolts reduce forced entry risks. Secure door locking systems also gain plenty of strength from a hooklatch setup. Outdoor gates deal with weather shifts, ground movement, and frame flex over time. A standard latch can easily slip out of position on a shifting gate. An expanding hook stays firmly locked inside the keep. Before you buy mortice hooklatch case units, verify your door frame type. Once you know why a hook bolt helps, you need to check your dimensions. Key Dimensions to Check Before You Buy Mortice Hooklatch Case Units Sizing mistakes can ruin an installation and weaken your door stile. Taking accurate measurements before you buy mortice hooklatch case parts guarantees a clean fit. Measure the backset distance accurately from the faceplate edge. Check total case depth to avoid hitting glass beads. Identify whether your stile needs square or radius forend plates. Confirm the spindle follower size for your door handles. The backset is your most critical measurement. It measures the distance from the outer forend plate to the cylinder center. Narrow aluminium doors often use 25mm, 30mm, or 35mm backsets. Timber doors typically need 45mm, 55mm, or 60mm depths. Total case depth shows how deep you must cut into the door stile. Shallow cases stop you from cutting into glazing beads on glass doors. You also need enough room so the hook extends without hitting the frame rebate. Forend faceplates come in either square or radius profiles. Square plates suit traditional hand chiseling on timber doors. Radius plates drop right into pockets cut with modern router jigs. Standard UK handles usually take an 8mm spindle follower. Next, you need to confirm your door handing and cylinder style. How to Determine Door Handing and Lock Compatibility Check how your door opens and closes before ordering any hardware. Many sliding patio entrances and commercial doors use these locking units. To check handing, stand on the external, key-operated side of the doorway. Watch which way the sliding leaf moves when it seals shut. Some hooklatch models feature a reversible latch bolt that works on either side. Heavy-duty cases often require a dedicated left-hand or right-hand design. Installing the wrong handing stops the hook from dropping cleanly into the strike plate. Locksmiths report that poor alignment causes most early latch failures. Always check whether your door slides left or right to close. You must also inspect the cylinder cut-out on the lock body. Euro profile cylinders are standard for most domestic and retail doors. Older commercial aluminium frames often use oval profile cylinders instead, such as those found on an ADAMS RITE MS1890 or similar narrow-stile setup. Euro and oval formats cannot swap, so check the casing cut-out first. Pair your case with a cylinder tested to BS EN 1303 for drill resistance. Insurers often require TS 007 three-star protection on external glass sliding doors. Now let us look at the top heavy-duty models on the market. Recommended Heavy-Duty Mortice Hooklatch Cases Strength matters when you buy mortice hooklatch case hardware for busy doors. Commercial entrances need hardware that resists steady lateral force and daily wear. Lock cases from top rated Security Solutions brands UK tested to BS EN 12209 standards offer proven durability in high-traffic zones. Look for lock cases built with laminated steel hooks and reinforced faceplates. For wooden sliding doors, a heavy-duty euro-profile hooklatch case offers versatile cylinder options. These units feature an expanding steel hook that anchors firmly into the strike plate. This interlocking grip stops intruders from prying the door off its running tracks. Security pros often recommend models with adjustable keeps to handle natural door movement. For aluminium storefronts, a narrow-stile commercial hooklatch case works best. These compact units fit slim door profiles while offering hardened anti-lift pins. They easily survive thousands of daily cycles without latch failure. Certified commercial cases keep busy entrances secure and meet modern building safety rules. Proper installation and care will keep your new hardware working smoothly. Installation and Maintenance Tips When You Buy Mortice Hooklatch Case Sets Fitting a hooklatch requires careful alignment between the hook and the frame keep. Cut your mortice pocket neatly into the door stile using sharp chisels. Make sure the lock sits flush against the edge without binding. Align the strike plate carefully on the opposing door jamb. If the hook rubs against the keep, the lock cylinder will quickly stiffen. Spray the hook mechanism twice a year with dry PTFE lubricant instead of oil. Sticky oils attract dirt and dust, which can jam internal springs over time. Check fixing screws once a year so the lock body cannot shift inside the door. Regular care keeps your sliding door moving smoothly for years. When you are ready to evaluate where to buy Security Solutions products online UK and buy mortice hooklatch case hardware, double-check your backset and frame depth. Taking a few minutes to measure accurately saves hours of rework later. Frequently Asked Questions Why should I choose a mortice hooklatch case over a standard mortice latch? A mortice hooklatch case uses an upward-curving steel hook that swings into a reinforced box keep to lock the door directly to the frame. Unlike a standard flat deadbolt or spring-loaded tongue, this interlocking design resists sideways pulling force. It prevents intruders from prying sliding panels apart or lifting the door off its tracks, making it ideal for sliding patio doors, pocket doors, and gates. What backset size do I need for my door? The backset is the most critical dimension to measure before purchasing. It is the distance from the outer forend plate to the center of the cylinder. Narrow aluminium doors typically require a 25mm, 30mm, or 35mm backset, whereas timber doors usually need a 45mm, 55mm, or 60mm backset. You should also check total case depth to avoid cutting into glass glazing beads. Can I use any cylinder with a mortice hooklatch case? You need to determine the profile cut-out on the lock body because euro profile and oval profile cylinders cannot be swapped. Euro profile cylinders are standard for most domestic and retail doors, while oval profile cylinders are commonly found in older commercial aluminium frames. Matching the correct format ensures the cylinder fits properly into your lock case. How do I maintain a mortice hooklatch case after installation? You should lubricate the hook mechanism twice a year using a dry PTFE lubricant spray. Avoid using sticky oils, as they attract dirt and dust that can jam internal springs over time. Additionally, inspect the fixing screws once a year to ensure the lock body cannot shift inside the door, and check that the hook aligns cleanly with the frame keep without rubbing. About This Article Author: SafeFort Editorial Team Last Updated: October 16, 2026 Editorial Disclosure: This article was researched and written by our content team to provide helpful, accurate information about buy mortice hooklatch case. We regularly review and update our content to reflect the latest industry developments and best practices.

Not Sure Which Solution Fits Your Needs?
Our specialists work with people with a range of requirements every day. Get clear, practical advice on security selection, technology, and setup before you buy.