



Securing paper deeds and gold coins in a cast-iron vault is no longer sufficient. Modern threats target both physical drawers and online accounts. A complete safefort strategy pairs heavy structural security with zero-knowledge data encryption. This dual approach protects tangible valuables, private records, and digital keys against burglary, fire, and cyber attacks.
Table of Contents
- Step 1: Conduct a Comprehensive SafeFort Physical and Digital Security Risk Audit
- Step 2: Select and Install a Certified Physical Safe for High-Value Assets
- Step 3: Establish a SafeFort Encrypted Digital Vault for Sensitive Data
- Step 4: Integrate Smart Sensors and Remote Alert Systems Safely
- Step 5: Execute an Emergency Recovery and Access Protocol
- Frequently Asked Questions About SafeFort Asset Security
This guide helps UK homeowners, remote executives, and private family offices build a personal defense system. Whether you need to store land titles or hardware wallets, this step-by-step protocol keeps your holdings secure. You do not need an engineering background or security license to complete this process.
Project Overview: Difficulty Rating, Required Tools, and Time Investment
Before you begin, gather your tools and reserve dedicated focus time. Building a true safe fort requires an audit of your room and digital accounts.
- Estimated Time: 3 to 5 hours (split between hardware mounting and digital configuration)
- Difficulty Level: Intermediate (requires basic drill operation and comfort with security settings)
Required Physical Security Items:
- Certified high-security safe or fire-rated vault (sized for your space and valuables)
- Heavy-duty masonry drill bits and expanding anchor bolts (for floor or wall mounting)
- Fire-resistant document sleeves engineered for deeds and paper archives
- Lockable key box or tamper-evident seal bags for physical override keys
Required Digital Security Tools:
- Dedicated password manager software installed across your primary devices
- Encrypted USB flash drives or hardware security keys for multi-factor authentication
- External solid-state drive formatted with 256-bit AES protection for offline backups
- Stainless steel seed phrase plates crafted for hardware crypto wallets or digital recovery keys
Pro tip: Schedule your setup across a quiet morning. Mount the physical safe body first. Once anchored, clear and encrypt your digital accounts. This process prevents sensitive documents from sitting exposed on your desk.
Step 1: Conduct a Comprehensive SafeFort Physical and Digital Security Risk Audit
Estimated time: 45 to 60 minutes
Building a safefort strategy begins with a thorough inventory of your holdings. Before buying hardware or installing software, you must define what requires protection. Most security failures occur when owners misplace critical records or mix storage locations. A complete audit maps physical items alongside digital data so nothing remains vulnerable.
- Inventory physical valuables and paper documents.
Walk through your property with a ledger. Record every tangible item that requires protection against fire, water damage, or theft. Focus on secure cash storage solutions, fine jewelry, property deeds, birth certificates, and vehicle titles. Measure bulkier items like family photo albums or paper ledgers. These dimensions determine the internal safe capacity you need.
- Map out critical digital assets.
Digital records demand the same care as physical gold. List all confidential data files, master access lists, crypto recovery phrases, and offline drives. Include digital scans of passports, insurance policies, and tax records. Note where each file resides, whether on a USB drive, desktop disk, or cloud server.
- Assess exposure risks and replacement friction.
Review how easily someone could steal, corrupt, or destroy each asset. Paper documents suffer fire damage quickly, while cheap flash drives degrade over time. Data from the Master Locksmiths Association shows that poorly stored paperwork remains a prime target during home burglaries. Rate each item by how difficult it is to replace if lost.
Pro tip: Separate your inventory into three groups: fast access (passports), high security (cash and gold), and deep storage (deeds and archive drives). Grouping items keeps you from opening your main vault for daily items. This habit lowers your daily security exposure.
With your audit complete, you can select certified hardware to protect your tangible valuables.
Step 2: Select and Install a Certified Physical Safe for High-Value Assets
Estimated time: 2 to 3 hours for bolt-down installation
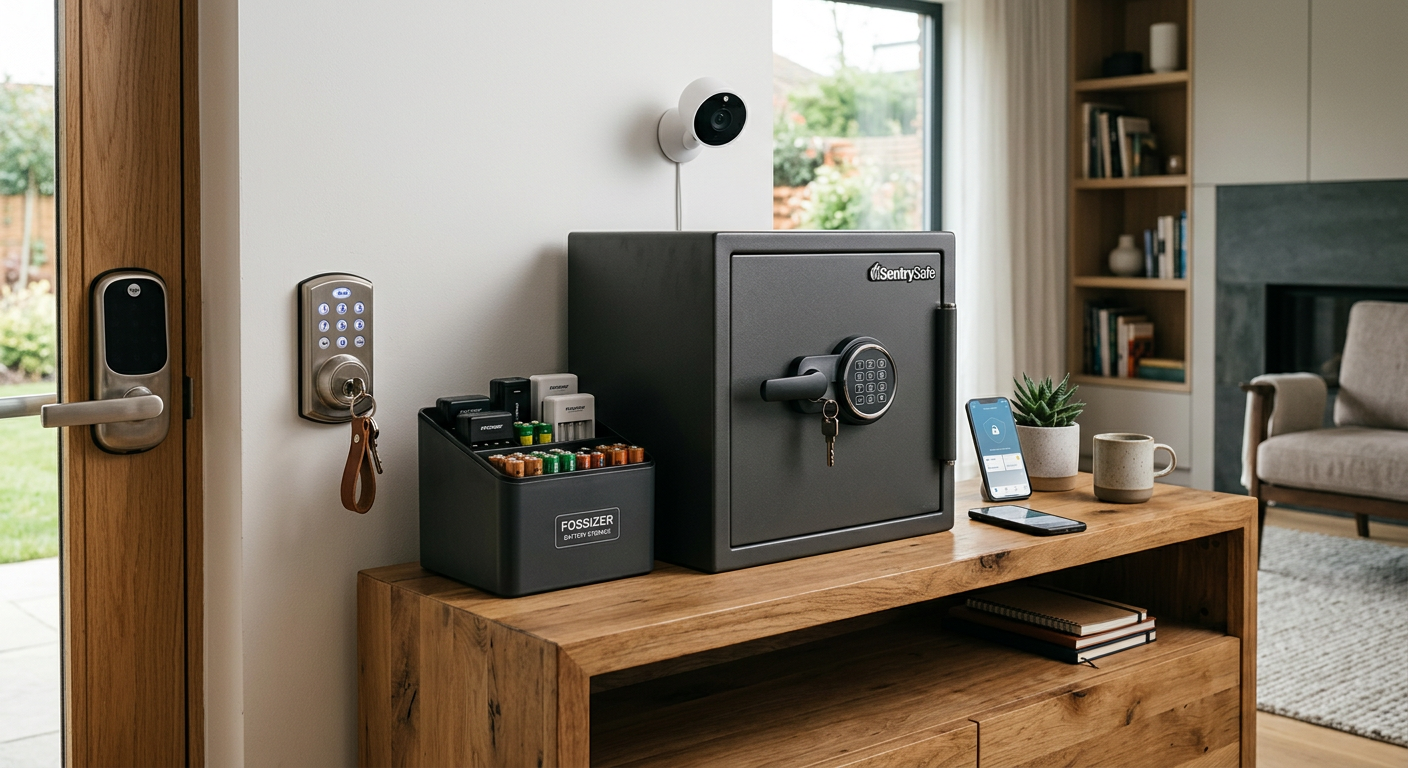
Selecting a vault requires matching its physical rating to your total asset value. When exploring options, check established options like CHUBBSAFES security safes and other trusted models. In the UK and Europe, demand certified independent testing standards—refer to our guide on understanding security safe grades for details. The EN 1143-1 standard tests physical resistance against forced entry using drills, angle grinders, and thermal cutters.
Higher EN 1143-1 grades offer greater resistance and higher insurance coverage limits. According to the European Security Systems Association (ESSA), a Grade 0 unit covers up to £6,000 in cash or £60,000 in valuables. A Grade 1 unit increases that threshold to £10,000 in cash or £100,000 in items. Always confirm these terms with your insurance underwriter before mounting your unit.
Physical defense relies on steel wall construction. Select thick steel bodies measured in lower gauge numbers. A 10-gauge steel body provides far more cut resistance than thin 14-gauge sheet metal. Pair strong steel with certified security safes that offer verified fire protection. Labels like EN 15659 or NT FIRE 017 indicate how long contents stay safe during intense fires.
Next, choose a reliable locking mechanism for emergency entry. Modern biometric locks use optical sensors for fast access without entry codes. Keypads allow simple pin code updates. Advanced units offer dual-custody mode, requiring two separate access codes to open the vault door.
To build a physical safefort, complete these installation steps:
- Clear a level concrete floor away from high-moisture areas.
- Mark your anchor points through the pre-drilled floor holes inside the unit.
- Drill deep pilot holes using an industrial masonry bit.
- Drive expansion anchor bolts into the concrete and tighten them securely.
Pro tip: Never mount a safe directly onto wooden floorboards. Intruders can lever up floorboards using basic pry bars. Anchor your unit directly into solid concrete or structural brick walls for genuine protection.
Once your heavy hardware is firmly anchored, the next phase secures your online records and electronic files.
Step 3: Establish a SafeFort Encrypted Digital Vault for Sensitive Data
Estimated time: 45 minutes
Physical safes protect paper deeds, fine watches, and cash reserves. However, digital theft poses an equal threat to your modern financial profile. Building an encrypted digital safefort vault protects your identity, financial records, and private files from network breaches. Follow these straightforward steps to set up complete digital defense.
- Select zero-knowledge encryption software. Download a trusted, open-source file encryption tool. Use software featuring AES-256 bit encryption standards. Zero-knowledge architecture ensures that only you hold the decryption keys. The software developer cannot view your vault or access your private files.
- Configure hardware security keys. Use two hardware security keys for multi-factor authentication. Insert one key into your device and register it with your vital online accounts. Use it to lock your email, password vault, and financial portals. Technical guidance from the Cybersecurity and Infrastructure Security Agency shows physical keys prevent phishing attacks far better than basic text messages.
- Build an offline cold storage drive. Connect an external solid-state drive to your computer and apply full-disk encryption. Move your tax records, estate plans, and passport scans onto the drive. Disconnect the device immediately after file transfers complete. Unplugging the drive isolates your personal data from online network threats.
- Unify your physical and digital assets. Place your encrypted backup drive and spare hardware key inside your physical safe. Pairing heavy steel locking bolts with strong software encryption creates a robust defense for your assets.
Pro tip: Print your master recovery keys on paper using a local non-connected printer. Store one sheet in your fireproof home safe. Place a secondary copy in a secure off-site location. Never save unencrypted images or text files of your emergency keys on a connected device.
Now that your digital files are encrypted, you can connect your physical safe to smart monitoring tools for real-time protection.
Step 4: Integrate Smart Sensors and Remote Alert Systems Safely
Estimated time: 30 minutes
Adding smart sensors turns a passive vault into an active safefort defense system. However, connecting your secure storage to the internet introduces network risks. Follow these steps to monitor your safe remotely while keeping your home network private.
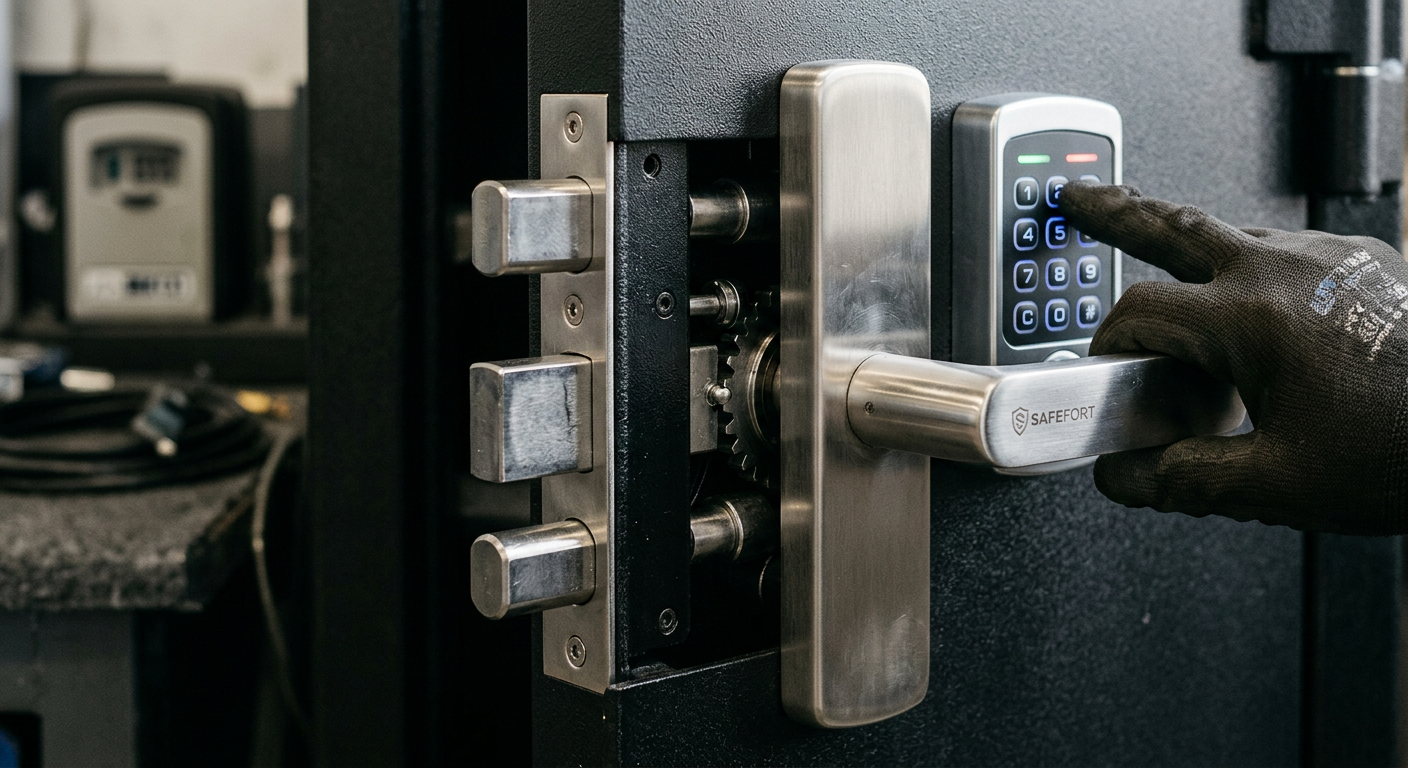
First, install physical tamper and vibration sensors inside the unit. Position them near the door latch and main hinge points. These sensors detect drilling, heavy impact, or movement before a physical breach occurs.
Next, configure dual-frequency connectivity for your alert module. Select a system that pairs Wi-Fi with cellular backup or LoRaWAN signals. Guidance from the IoT Security Foundation notes that single-path Wi-Fi networks remain vulnerable to wireless signal jammers. Dual-path setups deliver critical alerts to your phone even if your main broadband line fails.
Third, isolate your security device on your home router. Set up a separate Guest Network or Virtual Local Area Network (VLAN) for the hardware. Never connect security hardware to the same network as personal computers or smart TVs. This network separation stops intruders from accessing your safe through compromised household electronics.
Fourth, activate real-time push notifications for security events. Set alerts for door openings, wrong PIN attempts, low battery levels, and sensor offline status. Test the system by triggering a light vibration. Confirm that your phone receives the alert within five seconds.
Pro tip: Disable remote unlock features entirely if your smart system includes them. Use connected features exclusively for monitoring, status updates, and tamper alerts. Physical entry should always require manual authentication directly at the lock panel.
Finally, change all default factory passwords during initial setup. Enable two-factor authentication on your mobile app for extra protection. Update device firmware immediately. Check for new software patches every three months to patch emerging vulnerabilities.
After setting up your hardware and network alerts, prepare a clear protocol to regain entry if a lockout occurs.
Step 5: Execute an Emergency Recovery and Access Protocol
Estimated time: 30 minutes
Lockouts occur during unexpected crises. A complete safefort plan requires a clear recovery path. Emergency protocols protect your assets when access systems fail. Follow these steps to secure physical keys and digital backup codes safely.
- Catalog your recovery tools. Document override key locations, digital master keys, and recovery phrases. Store physical override keys completely separate from your primary safe.
- Establish a key escrow system. Use a split-custody method for sensitive recovery data. Entrust one half of a master passphrase to a legal representative. Keep the second half in a fireproof pouch.
- Prepare sealed emergency access packets. Place physical keys and backup hardware tokens inside tamper-evident envelopes. Store these packets in a secure off-site location, such as a bank deposit box.
- Designate a trusted emergency contact. Select a trusted executor or family member to hold contingency access rights. Ensure they know where recovery tools reside without revealing PIN codes upfront.
- Run an annual access drill. Conduct a mock recovery test every twelve months. Confirm physical override keys turn smoothly and digital recovery phrases remain valid.
Pro tip: Use numbered tamper-evident security seals on recovery envelopes. Record the unique seal numbers in your security log. Inspect these seals every six months to confirm nobody accessed your backup packets.
Building a reliable safefort system requires balancing digital convenience with physical strength. Technical glitches can lock you out of your safe or trigger false alarms. Use these practical steps to resolve lockouts and network errors quickly.
Troubleshooting Lockout and Override Failures
Electronic safe locks usually fail from low voltage or mechanical binding. When your keypad stops responding, follow these exact steps to regain access.
Estimated time: 5–10 minutes
- Replace the battery. Electronic locks require full voltage to retract heavy locking bolts. Install a fresh industrial-grade alkaline battery. Avoid rechargeable or zinc-carbon options. They often lack the peak power required to run the internal motor.
- Apply external power. Locate the two small brass contacts on the keypad faceplate. Hold the terminals of a fresh nine-volt battery against these points while entering your master code.
- Relieve door pressure. If the lock hums but stays closed, push firmly against the safe door while entering your code. This action relieves pressure on the boltwork, allowing the motor to turn freely.
- Turn the manual bypass key. Slide open the keyhole cover on the faceplate. Insert the override key completely. Gently turn the key while moving the handle. Never force the key, as internal lock pins bend easily under high torque.
Pro tip: Data from the Master Locksmiths Association shows that over 60 percent of emergency safe lockouts stem from low batteries. A weak battery can power the LED screen while failing to disengage the heavy locking mechanism.
Troubleshooting IoT Connectivity and False Alarm Triggers
Smart safes rely on steady network connections and calibrated sensors. You can resolve offline status errors and false alerts with a few network adjustments.
Estimated time: 10 minutes
- Switch your router to 2.4 GHz. Smart safes use low-power Wi-Fi modules that cannot connect to 5 GHz bands. Access your router settings and separate your network bands if setup fails.
- Eliminate signal interference. Heavy steel safe walls attenuate wireless signals. Install a Wi-Fi range extender within 15 feet of your safe to ensure a stable connection.
- Adjust sensor thresholds. High sensitivity settings cause false alerts from foot traffic or closing doors. Open your safe app, locate sensor controls, and reduce vibration sensitivity by one level.
- Clean the biometric scanner. Fingerprint scanners fail when skin oils accumulate on the optical reader. Clean the glass with a dry microfiber cloth, then re-enroll your fingerprint at three different angles.
Pro tip: Assign your smart safe a static IP address within your router settings. This prevents your safe from dropping offline whenever your local network reboots.
Frequently Asked Questions About SafeFort Asset Security
Do I need professional installation for a physical safe?
Yes, professional installation is vital for high-level security and insurance compliance. According to the Master Locksmiths Association, anchoring your safe to a solid concrete floor stops thieves from removing the unit. Many UK insurance providers require professional fitting before covering high-value contents.
Should I use physical safe storage or digital cloud vaults?
Both options serve distinct roles in comprehensive safefort planning. Physical safes defend paper deeds, hard drives, and cash from fire, flood, and burglary. Digital vaults shield online files from remote cyber threats. Industry specialists from top rated Security Solutions brands UK suggest storing offline hard drive backups inside a fireproof safe while using encrypted cloud storage for active digital files.
How do insurance cash ratings work?
An insurance rating shows the maximum cash amount an insurer covers if your safe suffers a break-in. To calculate the rating for valuables, multiply the cash rating by ten. A safe with a £4,000 cash rating covers up to £40,000 in jewelry. Always confirm these values with your insurance broker.
Are smart safes secure against online hacking risks?
Quality smart safes rely on multi-factor authentication and end-to-end encryption to block unauthorized access. To maintain complete security, change default factory codes right away. Keep safe software updated and pair your safefort hardware exclusively with an isolated network.
About This Article
Editorial Disclosure: This article was researched and written by our content team to provide helpful, accurate information about safefort. We regularly review and update our content to reflect the latest industry developments and best practices.


